And then even when I remembered to change the hub's driver's defaults, I found that the raft was prone to problems. First, no matter how dense I set the raft, the first layer was still striped every other row, which reduced adhesion to the kapton taped platform. Second, even if I disabled the first layer, the subsequent layers set down would be a little uneven, prone to peeling and a bit too much texture underneath, which in turn reduced adhesion. Third, I couldn't figure out -- maybe I'm just missing this -- a way to make subsequent raft layers use passes in different directions. So even if I laid down half a dozen 100% layers, they'd all be at the same orientation. This doesn't affect adhesion directly, but what it does do is give the raft too much directional strength. It becomes quite strong and resistant to deformation in one direction, but deforms quite easily in the other. This allows it to pull up along corners and edges when a support matrix begins to warp too strongly near a weak point.
I tried hair spray and solvent/plastic solutions on the kapton. I still got support columns pulling up at corners and at the ends of long rows. I've already been in the habit of wiping down the tape every print with 91% alcohol -- which helps quite a lot -- but I was seeing too many failures related to support structures pulling off the platform.
What I needed, I reasoned, was a way to make a raft perfectly smooth 100% on the build surface the same way the printer makes geometry to guarantee perfect adhesion ....
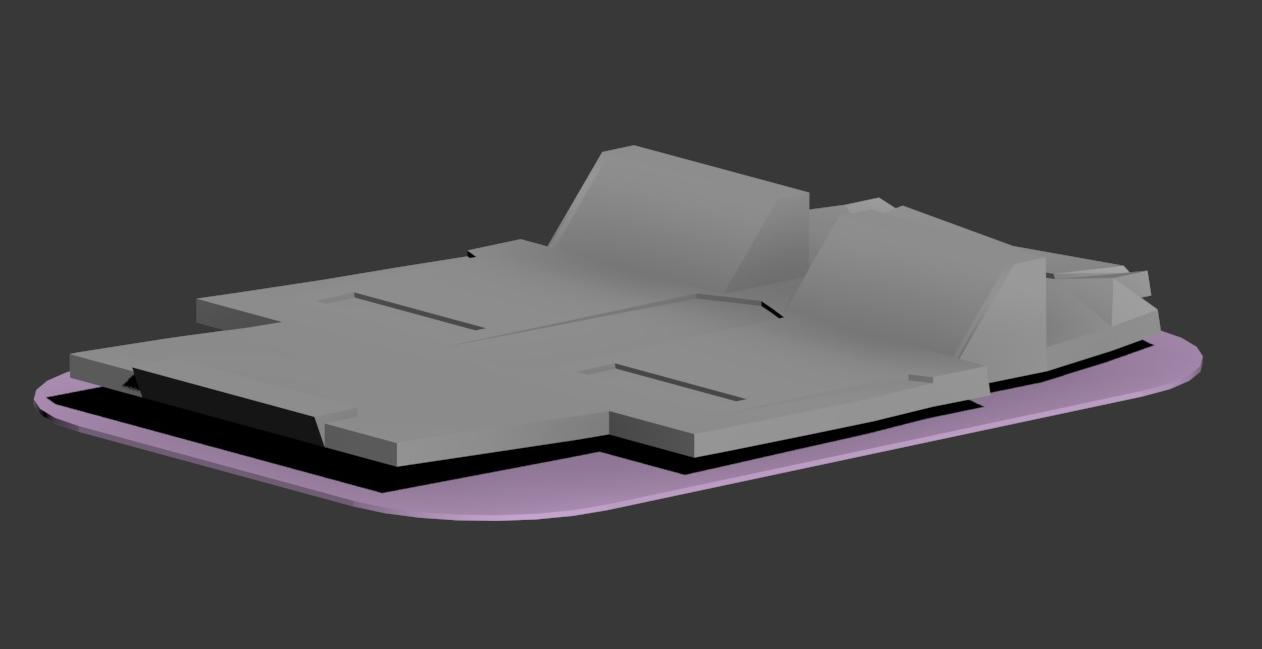
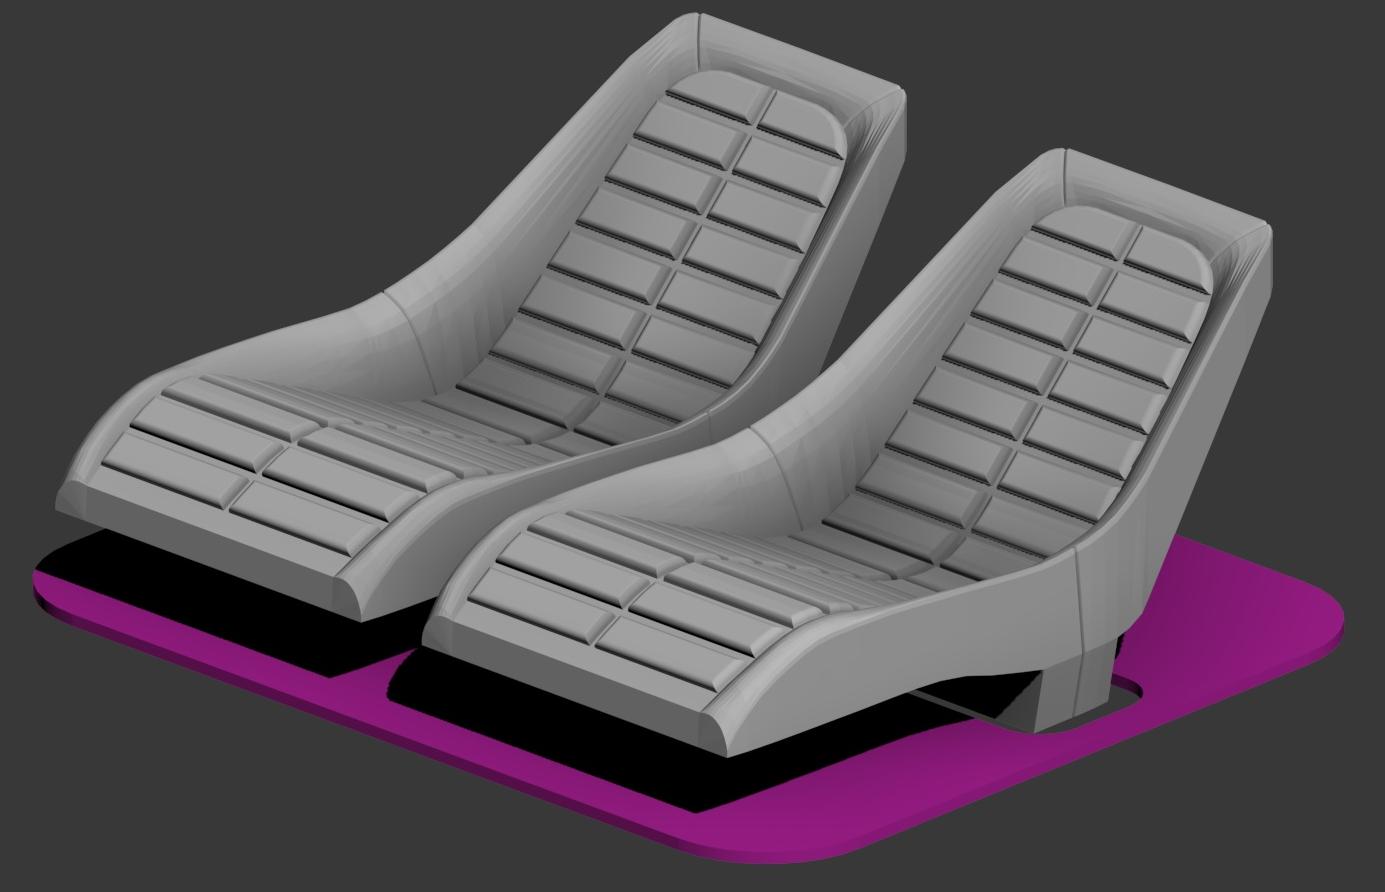
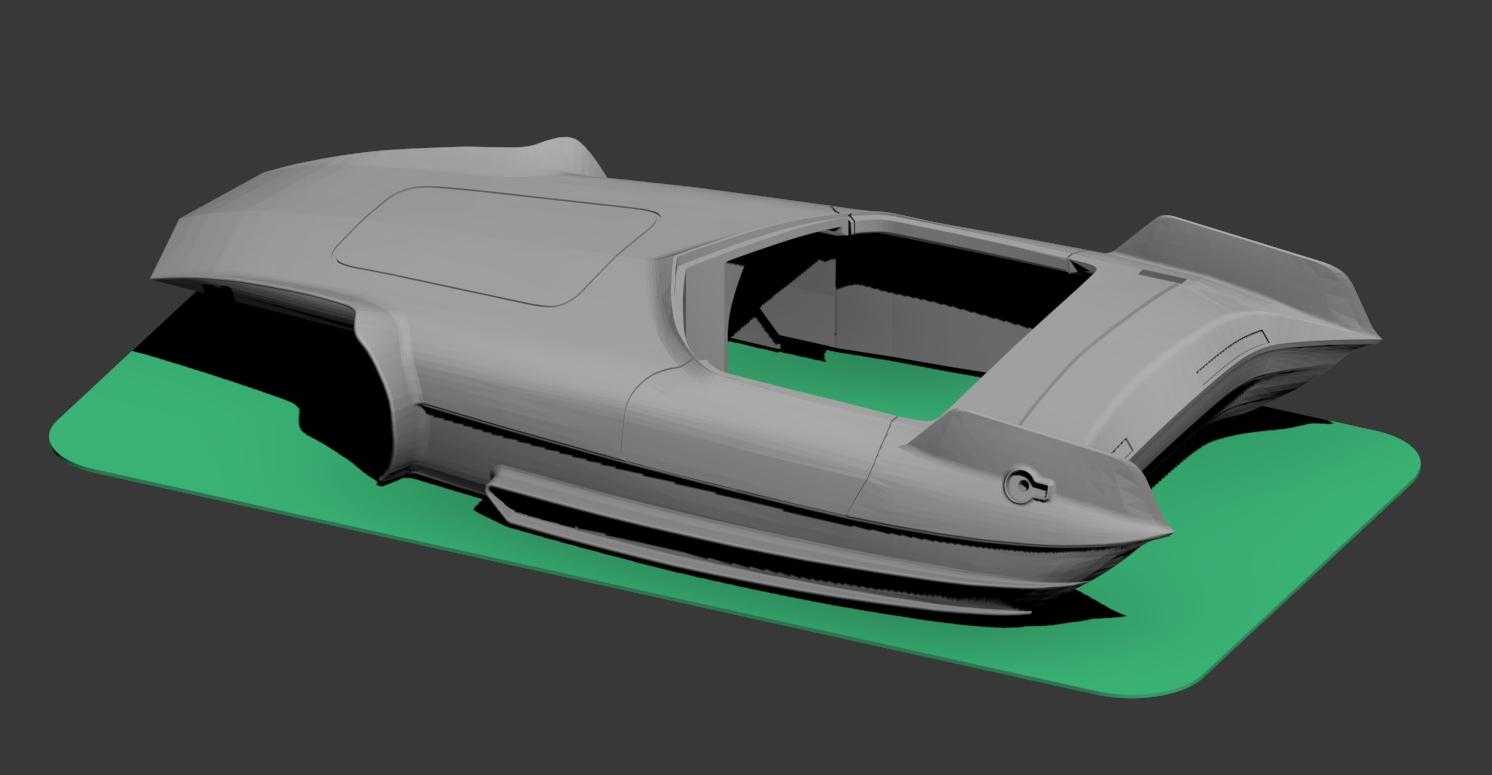
I realized I was being stupid. I started adding geometry to each STL export designed to provide a raft structure but without raft limitations. I obtain the best results when setting the geometry-raft to a thickness that equates to the number of top layers plus the number of bottom layers, so there's no grid filling. For example, if you're using four top and four bottom layers with a basic layer thickness of 0.08 mm, your geometry-raft would be .64 mm thick. The printer lays down the geometry-raft nice and tight on the platform, and you have full control over it because it's geometry, not a raft.
With some experience, I began to build geometry-rafts with apertures so pieces with bottoms I wanted to form on the build surface sat through the raft on the build surface directly, allowing the software to fill the intervening volumes with support. This also facilitates separation.
Yes, cleanup times are increased, and it can be difficult to separate geometry-raft and geometry when the separation is small. Yes, it burns some time and ABS. However, I'm routinely getting perfect 1/18 automotive bodies with zero separation from the platform and zero unexpected deformation. In fact, I generally have to pry the part off the build platform with a razor blade. Even after cooling, the parts are stuck too securely to the kapton to remove easily.
It's important that the geometry-raft have large radius corners, avoiding any stress concentration at a corner as shrinking support structure tries to pull up the raft.
Examples from my modeler follow.